
Replacing the Speed Control Quadrant Roll Pin with a Bolt, 2 Star washers and a Nylock Nut
Orignially Written by Bill Mayo www.billstoolz.com
I find about 50% of the headstocks I rebuild need the quadrant replaced. I have spent a lot of time trying various fixes/modifications/solutions for this problem. The major problem is that owners do not lubricate the Control Sheave causing it to slightly bind/stick on the Idler Shaft. I ask customers how quickly they turn the Speed Control Handle from FAST to SLOW. Most customers turn the handle too fast which causes the Speed Control leg to deform/bend allowing the worn gear to operate on the side of quadrant teeth slowly destroying the teeth. Only going from FAST to SLOW at about ¼ to 1/2 the speed of going from SLOW to FAST really help. You are squeezing the motor belt forcing the motor sheaves apart against the motor spring when going from FAST to SLOW.
This problem results from the quadrant slowly bending the Speed Control bracket leg which causes the quadrant roll pin wears the holes bigger in the legs of the speed control bracket. This causes the quadrant to tilt and is no longer centered on the control sheave bearing button. This causes the side of the quadrant teeth to wear quickly as they are no longer centered on the steel worm control gear of the Speed Control Assy. If you are changing the speed quite often, then the teeth on the new quadrant will again wear more on one side than the other side. This may slowly destroy the teeth and make changing speed quite hard or impossible again. I believe taking your time when going from FAST to SLOW will prevent most of this type of damage to the original Speed Control Assembly along with frequent lubrication.
Of course, I developed a solution for this problem a few years ago. Since the quadrant roll pin wears the holes and the leg bends which causes the quadrant teeth to wear only on the teeth edges, it may jam or make changing the speed quite hard. I have converted all the Speed Control Assemblies I use 6 1/2 years ago when I find the problem being repeated on each headstock I rebuilt. The one leg is bending on the speed control bracket. I quickly found that allen head 10 32 X 2 1/2" bolt fits in the quadrant and legs without any drilling or shimming required. I put a little wheel bearing grease in the quadrant hole and use an allen wrench to thread the bolt through the legs and quadrant. The star washers was added on the outside of the legs after a year as I found the bolt would start turning in the legs when I want all the rotation to be the quadrant on the bolt. Later, I started using red LocTite on the star washers. I tighten the nylock nut until I cannot move the quadrant to seat the star washers into the legs and the bolt head & nut. Then I back off the nut until I can move the quadrant.
I have been using these modified Speed Control Assemblies for seven years for myself and customers with no new problems and the quadrant teeth look new each time I lubricate my headstocks. Headstocks with a small speed control assembly horizontal hole will need a small slot filed for the allen bolt head to clear when installing.
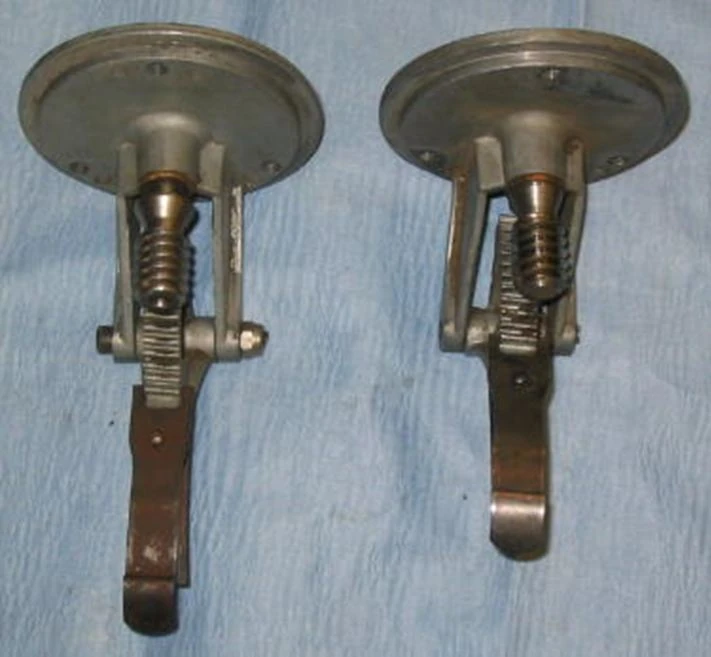
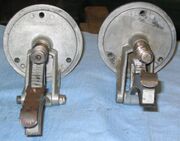
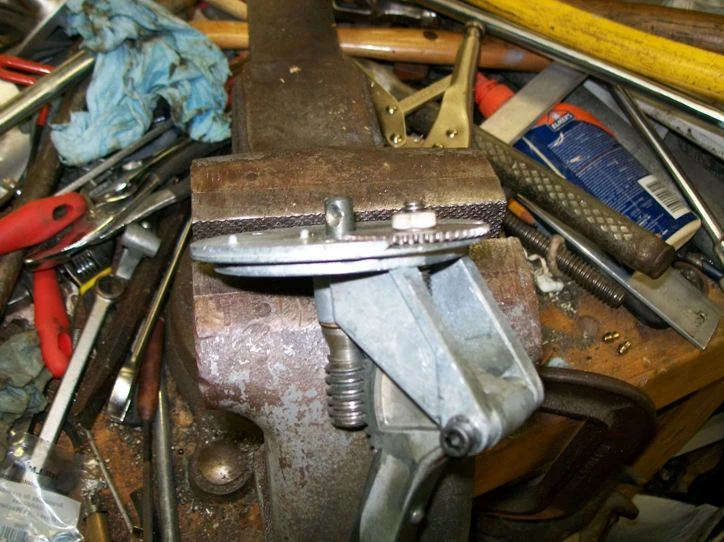
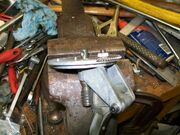
This picture shows the removed Speed Control Assembly on the right side and a rebuilt Speed Control Assembly on the left side. The left side one shows the remaining threads on the bolt was hack sawed off. I file the end of the bolt to remove any sharp points after hack sawing the bolt.


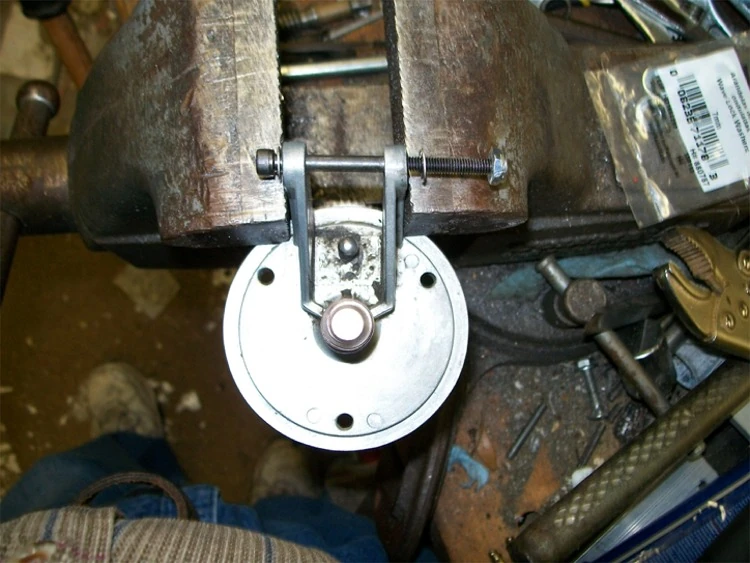
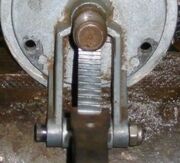
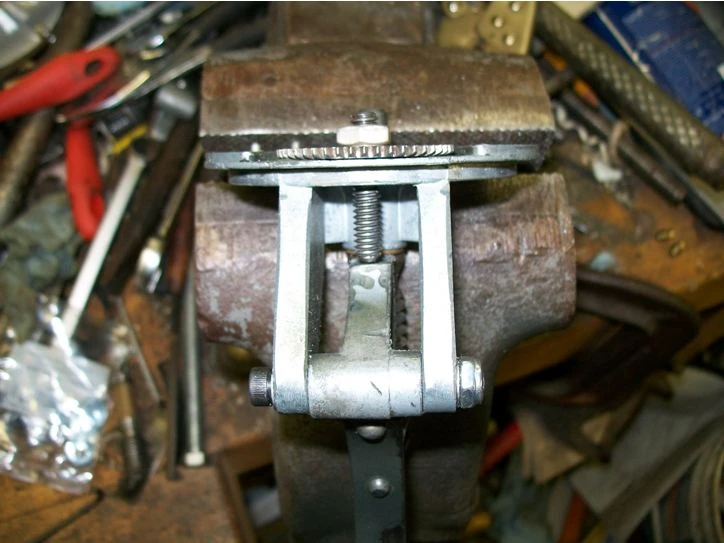
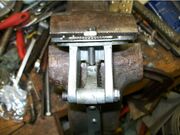
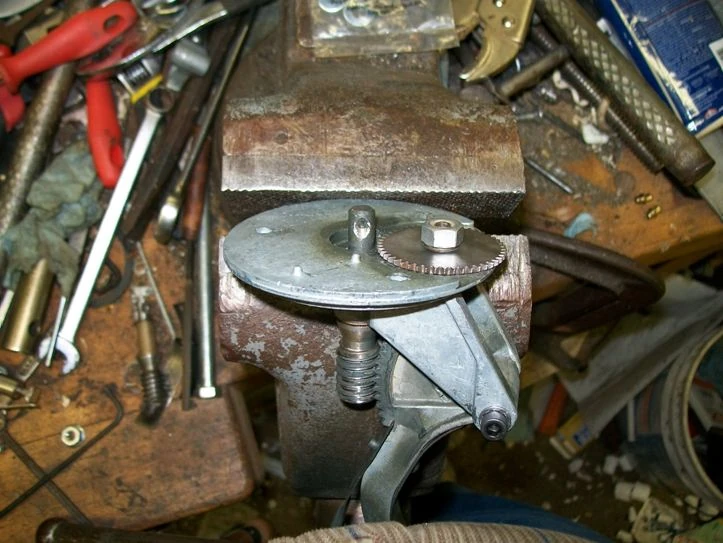
Note that the worm control shaft is in the center of quadrant teeth. One of my secrets is I actually use a hammer and punch with the bracket in a metal vise and tap/hit the bent leg (no quadrant installed) toward the center. Most times I have to do both legs to center the quadrant. I just check that it will still fit between the legs when doing this task) until the legs allow the quadrant teeth to be centered in the worm gear. The legs bend quite easy. So it does not take much to realign the legs so the quadrant tracks in the center of the worn gear. I have cracked a few legs while doing this task and had to discard the bracket so a little force a few times is better than one big hit. I have done close to a hundred of these roll pin to bolt changes. I have been doing this modification to all the headstocks I rebuild. Since I never gotten a headstock back that I rebuilt, I can only check my personal headstocks which shows not shifting of the quadrant teeth on the worm gear.
Adjusting the High Speed Screw and Speed Control Dial
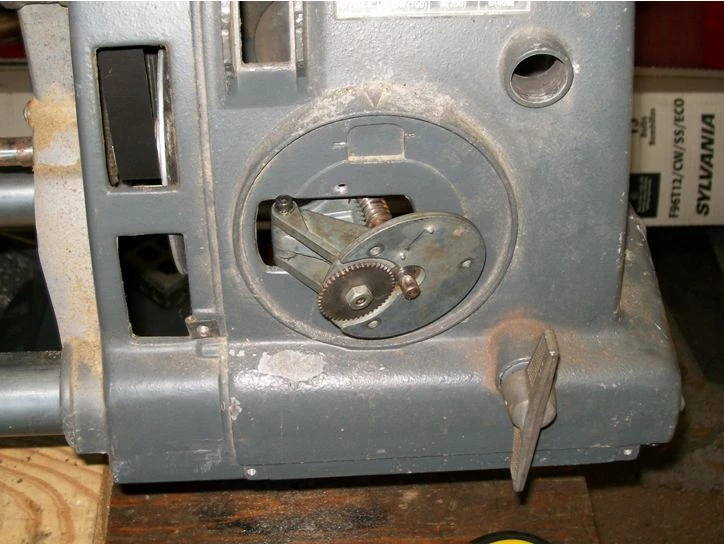
I set the speed control assembly to the FAST position. I rotate the worm gear until the quadrant contacts the high speed adjustment screw. I check where the indent in the worm gear shaft for the speed control handle is at this time.
I want the indent to be at the 11:30 position. If you have the thin locking nut of the high speed adjustment screw, I want the screw head to be extending about the width of the nut pass the nut to start.
If a regular nut, I set the screw even with the outside of the nut to start.

Then I will adjust the screw CW (nut loose) until I can get the indent to stop at the 11:30 position and tighten the nut. It should never take more than a one turn of the screw to do this. I leave the belt off when installing the speed control assembly.
I place the speed control dial to FAST when installing the assembly. I make sure the anti-vibration spring is installed and then screw in the 3 screws to hold the assembly. I then install the speed control handle and make sure the dial is at FAST when the quadrant is stopped by the high speed screw. I make sure the handle can be rotated from FAST to SLOW and back to FAST without any problem. Then leave at FAST. Then I install the motor drive belt and hook the control sheave retaining loop onto the quadrant.
I then install the motor with the switch and wires over the headstock lock rod. I pull the floating sheave and rotate the motor belt over the floating sheave after the motor pan (5 screws) is secured to the headstock.
I will be happy to mail you allen head bolt, 2 star washers and a nylock nut if you send me your address. If any other Shopsmith wants, needs, questions, comments or concerns, please let me know.
Bill Mayo www.billstoolz.com
1-813-764-8343 (after 10:00am & before 10:00pm EDT)